Before launching Gig Performer, make sure that all audio and MIDI interfaces connected to your system are powered on. If no external audio interface is connected, Gig Performer will use your computer’s built-in input and output. If you have more than one interface connected, you’ll be able to choose among them after the app launches. Note that you can use different interfaces for input and output if desired.
When Gig Performer is first launched, the following dialog will appear:
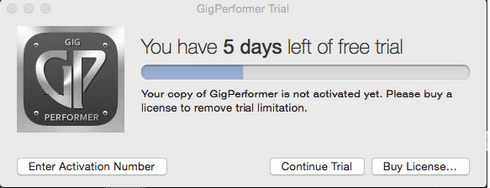
If you have purchased a license, click on Enter Activation Number and type or paste in the activation code emailed to you. (Make sure your anti-spam blocker doesn’t prevent the confirmation email with your license from being received).
If you have not yet purchased a license, click on Continue Trial to access a fully operational trial version of Gig Performer for a period of 14 days. (The dialog shows you how many days you have remaining.). You can purchase an activation code at any time by clicking on the Buy License... button.
Note: When Gig Performer is in trial mode, there will be momentary dropouts in the audio and the screen will flash red.
Before using Gig Performer, please make sure you agree to the license agreement, a copy of which is included. See APPENDIX D - LICENSE AGREEMENT.
Immediately after launching Gig Performer, it will scan your system looking for plugins and the following dialog will appear:
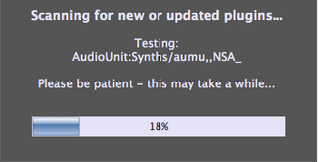
When running Gig Performer on Mac (OS X) systems it will scan for both VST (Virtual Studio Technology) and Audio Unit (AU) plugins; when running on Windows systems it will look for all VST plugins.
Note: If you are a Windows user, you will have to tell Gig Performer what folders to search, since there are no default locations where all plugins are guaranteed to be installed. To do so, go to the Windows menu, then select “Plugin manager.” In the resultant window, click on Manage, then choose the “Set VST folders for scanning” option. We suggest you begin by having Gig Performer search in the folder C:\Program Files\VstPlugins. If you have additional plugins stored in other folder locations (as some plugin and DAW manufacturers automatically create), the Plugin manager allows you to easily add other folders to scan. Click here for more information.)
This scanning process can take some time the first time you use Gig Performer but will be nearly instantaneous on subsequent launches unless you have installed or updated any plugins since the last usage. (If you like, you can later disable this scan completely with an option in the Preferences dialog.)
Gig Performer does not include any synth or effects plugins because there are so many available plugins out there—both free and commercial—we’re sure that most users will want to use their own favorites. (Click here for a list of some of our favorite free ones.) However, it does come with a number of specialized plugins to handle basic MIDI and audio operations.