You can add markers at various points in a track in the Streaming Audio File Player to cause one or more actions to be triggered automatically as the playhead passes those markers. Double-clicking a marker symbol on the timeline or clicking on the Actions button opens the Timeline Actions Tool:
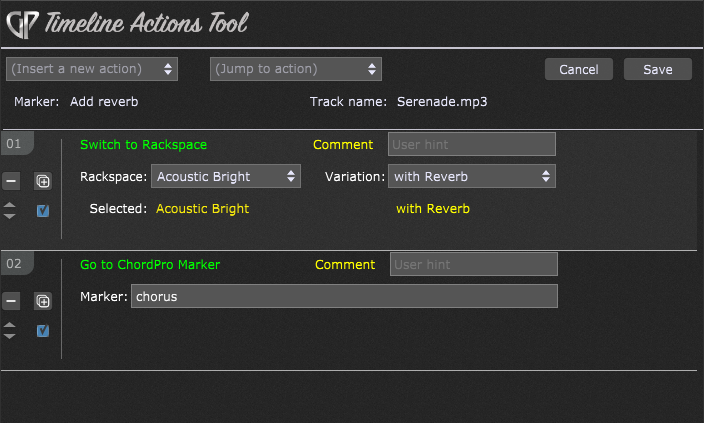
This tool allows you to manage timeline actions for each marker. Actions allow you, for example, to switch rackspaces, switch songs, set widget values and captions, start or stop the Metronome, go to a specific position in your lyrics file, send MIDI events, or simply display a message in the main Gig Performer window.
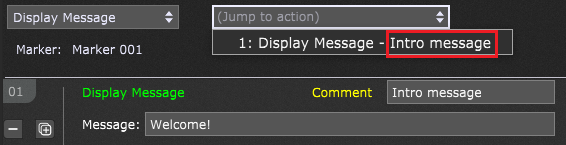
There are 14 action types supported and they can be combined together. All actions include the Comment field where you can optionally include a hint for the desired action. This hint is shown in the 'Jump to action' combo box (indicated with the red rectangle).
All these action types will be described below.
1. Display Message
The Display Message action simply flashes the specified message in the main Gig Performer's window:
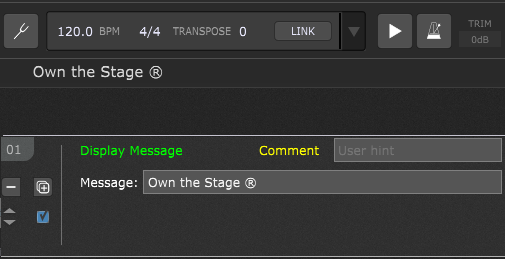
If there are multiple messages on a single marker, then only the last message will be displayed.
2. Go to ChordPro Marker
This action assumes that you have the marker directive defined in your ChordPro file, e.g. {marker: "verse2"}, as indicated with the red rectangle in the screenshot below:
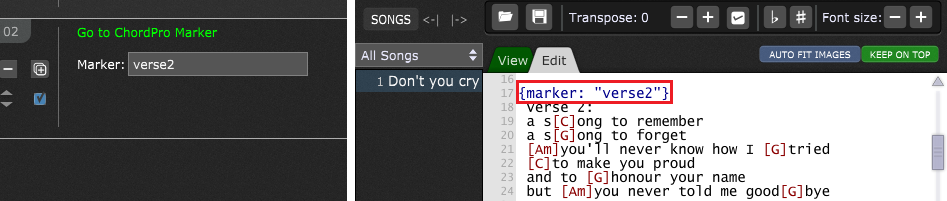
In the Go to ChordPro Marker action you need to enter the marker name without quotes. When the playhead reaches this marker, it will move the ChordPro file to the specified position (in this example, to show Verse 2).
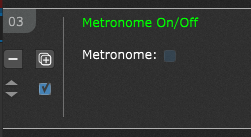
3. Metronome On/Off
This action starts the Gig Performer Metronome feature when the check box is ticked, or stops the Metronome when the checkbox is not ticked:
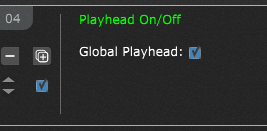
4. Playhead On/Off
When the check box is ticked, this action starts the Gig Performer Global playhead. When the checkbox is not ticked, the Global playhead stops playing:
5. Previous or Next
While the Panels view is displayed, this action allows you to go to the previous or next rackspace or variation.
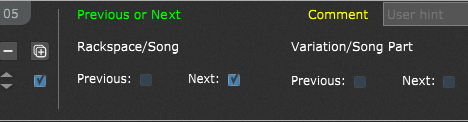
If the Setlist view is displayed, this action allows you to go to the previous or next song or song part. Note that the check boxes are mutually exclusive, i.e. you cannot go to the next and previous rackspace at the same time, and you cannot go to the next rackspace and the next variation at the same time.
6. Send MIDI Message
This action allows you to send a MIDI message to a specific block in a rackspace:

Supported MIDI messages are: Note On, Note Off, Control Change, Program Change, Aftertouch, Pitch wheel, Polytouch, SysEx, Song Position, Song select, Tune request, RT Timing clock, Start, Continue, Stop, and Reset.
Supported blocks are: Physical MIDI Out devices, Local GP Port, MIDI Out blocks with handles, MIDI In blocks with handles, Global MIDI Out blocks with handles and Global MIDI In blocks with handles.
Check the Use blocks in the Global Rackspace check box if your MIDI block is located in the Global rackspace.
7. Send OSC message
This action allows you to send the desired OSC message to the desired target (defined with the IP address and the port).

For example, if you add a label widget and give it the OSC name Text1, then you can easily change its caption to Hello Gig Performer users! using the OSC message in the screenshot above (provided that OSC is enabled in the OSC Options and that Gig Performer listens at the port 5000) when the playhead reaches the marker that contains this action.
An OSC message can contain an arbitrary number of integer, float or string arguments. By sending OSC messages into Gig Performer scripts you can trigger arbitrary GPScript functions from the timeline. That's why the Timeline Actions Tool can easily accommodate the most complex automation use cases.
8. Send Program Change
This action allows you to send a program change message to Gig Performer itself or to an external device.
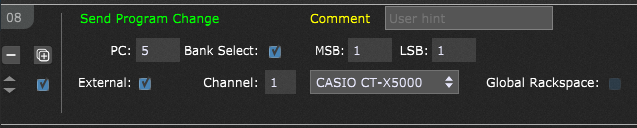
Simply type in the desired program change number and optionally select bank values (MSB and LSB); if you want to send a program change message to an external device, check the External check box and then specify the desired MIDI channel and a target. Supported targets are: Physical MIDI Out devices, Local GP Port, MIDI Out blocks with handles, MIDI In blocks with handles, Global MIDI Out blocks with handles and Global MIDI In blocks with handles.
Further, if you want to send a PC message to a block that is located in the Global rackspace, make sure to check the Global rackspace check box.
9. Set Global BPM
This action allows you to set the desired Global BPM value:
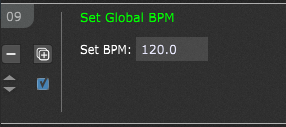
You can select a value between 20 and 640.
10. Set Global Transpose
This action allows you to set the desired Global BPM value:
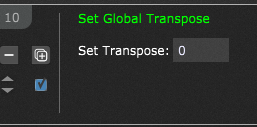
You can select a value between -48 and +48.
11. Set Widget Caption
This action allows you to set the caption of any widget:

To set a widget caption, you must first define a widget handle, i.e. OSC/GPScript name in the Advanced tab from the Widget Properties Inspector. If the widget is located in the Global rackspace, make sure to click on the Global check box.
12. Set Widget Value
This action allows you to set the desired widget value:
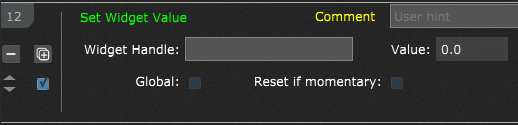
To set a widget value, you must first define a widget handle, i.e. OSC/GPScript name in the Advanced tab from the Widget Properties Inspector.
If the widget is located in the Global rackspace, make sure to click on the Global check box. Tick the Reset if momentary check box if your widget is set to be 'Momentary' in the Widget Properties inspector and you want to reset its value.
13. Switch to Rackspace
This action allows you to switch to the desired rackspace:
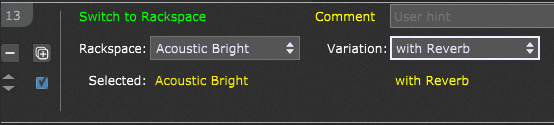
Simply select the desired rackspace and variation from the combo boxes. The selected rackspace and variation will be displayed in yellow color.
14. Switch to Song
This action allows you to switch to the desired song:

Simply select the desired song and song part from the combo boxes (the first song part is selected by default).
By default, songs from the current setlist will be displayed. If you want to display all songs (from the All Songs setlist), make sure to check the All songs check box. The selected song and song part will be displayed in yellow color.
Note that every action has these common controls:
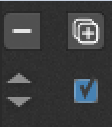
These controls allow you to remove an action, duplicate an action (in case you want add similar actions, such as sending multiple MIDI messages), move an action up, move an action down, and enable an action. If you want to disable an action, make sure to untick the check box.