Let's assume that you start with a clean slate. Open the Rig Manager and rename the default rig to a custom name, i.e. Rehearsing (refer to this chapter for more information about the Rig Manager window):
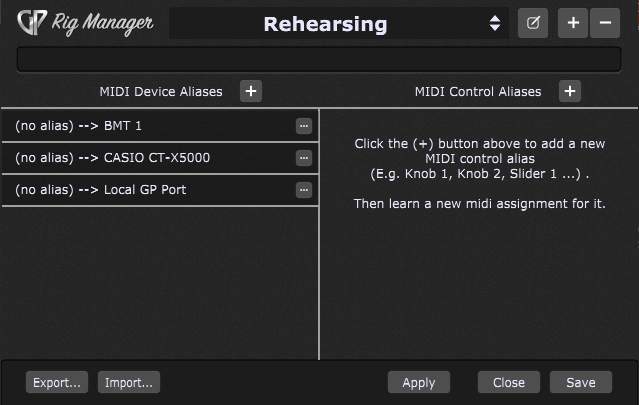
The main area of the window is divided into two columns. On the left are the MIDI Device Aliases - the list of aliases for physical control devices like keyboards, pad controllers, and control surfaces. In the screenshot above, none of the connected MIDI devices shown have been given aliases.
An alias is simply a name you can designate to represent a physical device (on the left) or a control (a knob, slider, button, etc.) associated with some device. If you use aliases for your MIDI In blocks and your widgets in your rackspaces instead of the actual devices, then you can easily switch your entire gig file to use a different set of physical controllers without having to update individual rackspaces.
Note: the Local GP Port is a new feature in Gig Performer 4. Refer to this chapter for more information.
The column on the right are MIDI Control Aliases - the list of aliases for controls i.e. sliders, buttons, faders, and knobs. In the screenshot above, there are no MIDI Control aliases defined yet.
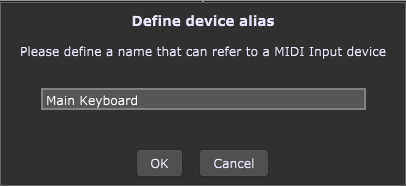
To create an alias for a connected MIDI device, click on the plus button at the top of the MIDI Device Aliases list. In the dialog that appears, give the desired MIDI device an alias (i.e. Main Keyboard):
The newly created alias needs to be linked to a physical MIDI device:
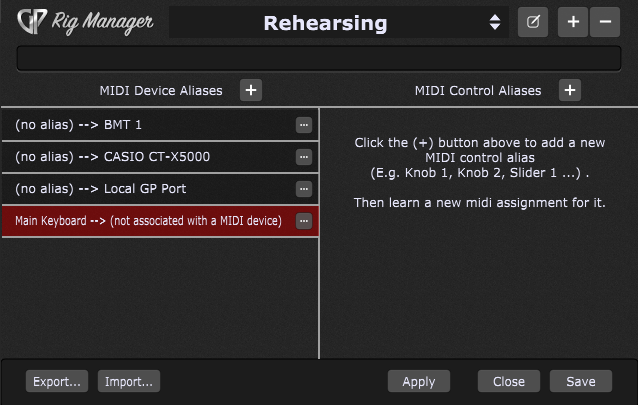
Click on the "three dots" button or right-click on the alias and choose a MIDI device from the Associate MIDI Device sub-menu; alternatively, you can click on the three dots button, then click on the Learn MIDI device menu item and use any control on your MIDI device to learn the desired MIDI device (instead of selecting it from the list). After you successfully associate an alias with a MIDI device, it will be highlighted green:
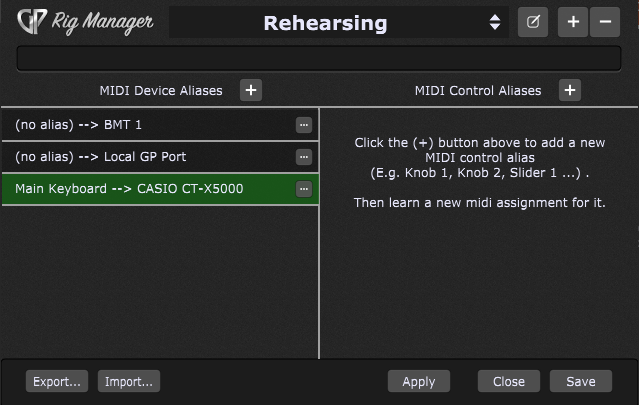
Another way to assign an alias to the specific MIDI device is to click on the "three dots" button for the desired MIDI device and select the Define alias for this MIDI device... menu item or right click the MIDI device and select the Define alias for this MIDI device... menu item.
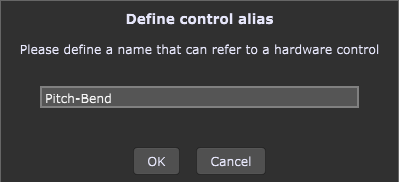
To create an alias for the desired MIDI control, click on the plus button at the top of the MIDI Control Aliases list. In the dialog that appears, give the desired MIDI control an alias (i.e. Pitch-Bend):
When you create a MIDI Control alias, it needs to be associated with a MIDI control:
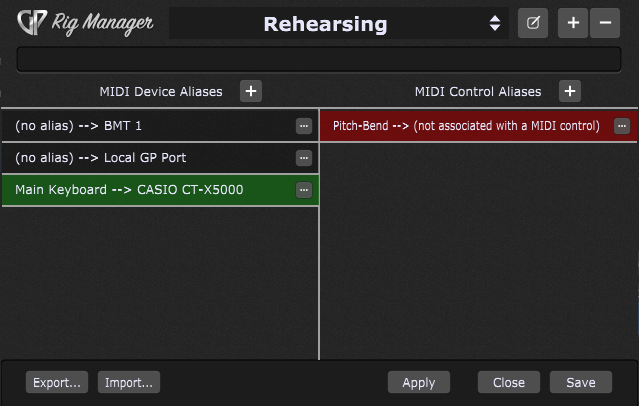
To map the newly created alias (virtual controller) to a physical control, double-click this alias to enter the Learn mode, or right-click it and choose Learn MIDI control from the popup menu. Move a knob, fader, pitch-bend or other physical control and it will be mapped to the alias:
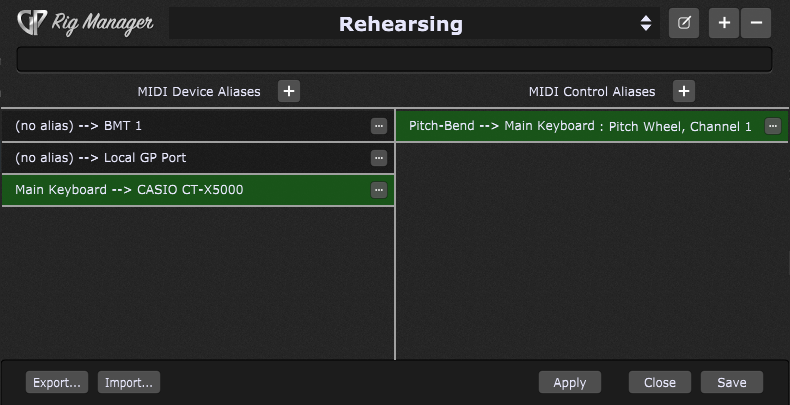
Note: you can create a MIDI Control alias before creating a MIDI Device alias; in that case the full MIDI device name will be displayed in the MIDI control alias entry. When you assign an alias to that particular MIDI device, the corresponding MIDI Control alias entry will be updated.
Create other MIDI Control aliases and repeat the Learn MIDI control process for other controls:
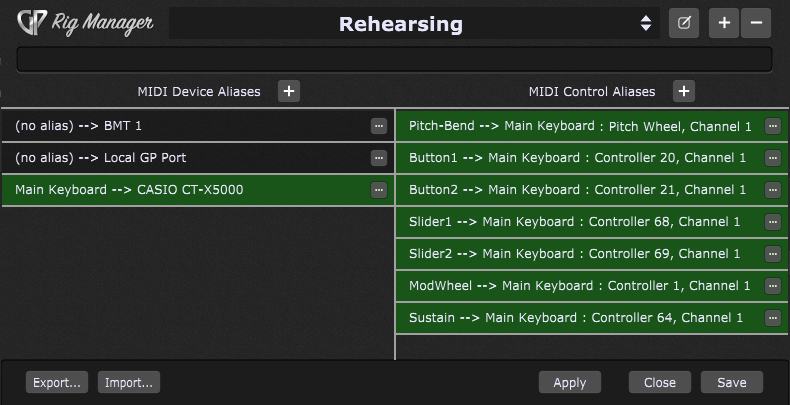
Don't forget to save your rig by clicking on the Save button. The best practice is also to export your Rig Manager configuration once you're done with the editing. Click on the Export... button to export your configuration to a rigsetup file.
Note: defined aliases in the Rig Manager don't apply to the MIDI outputs, only to MIDI inputs.