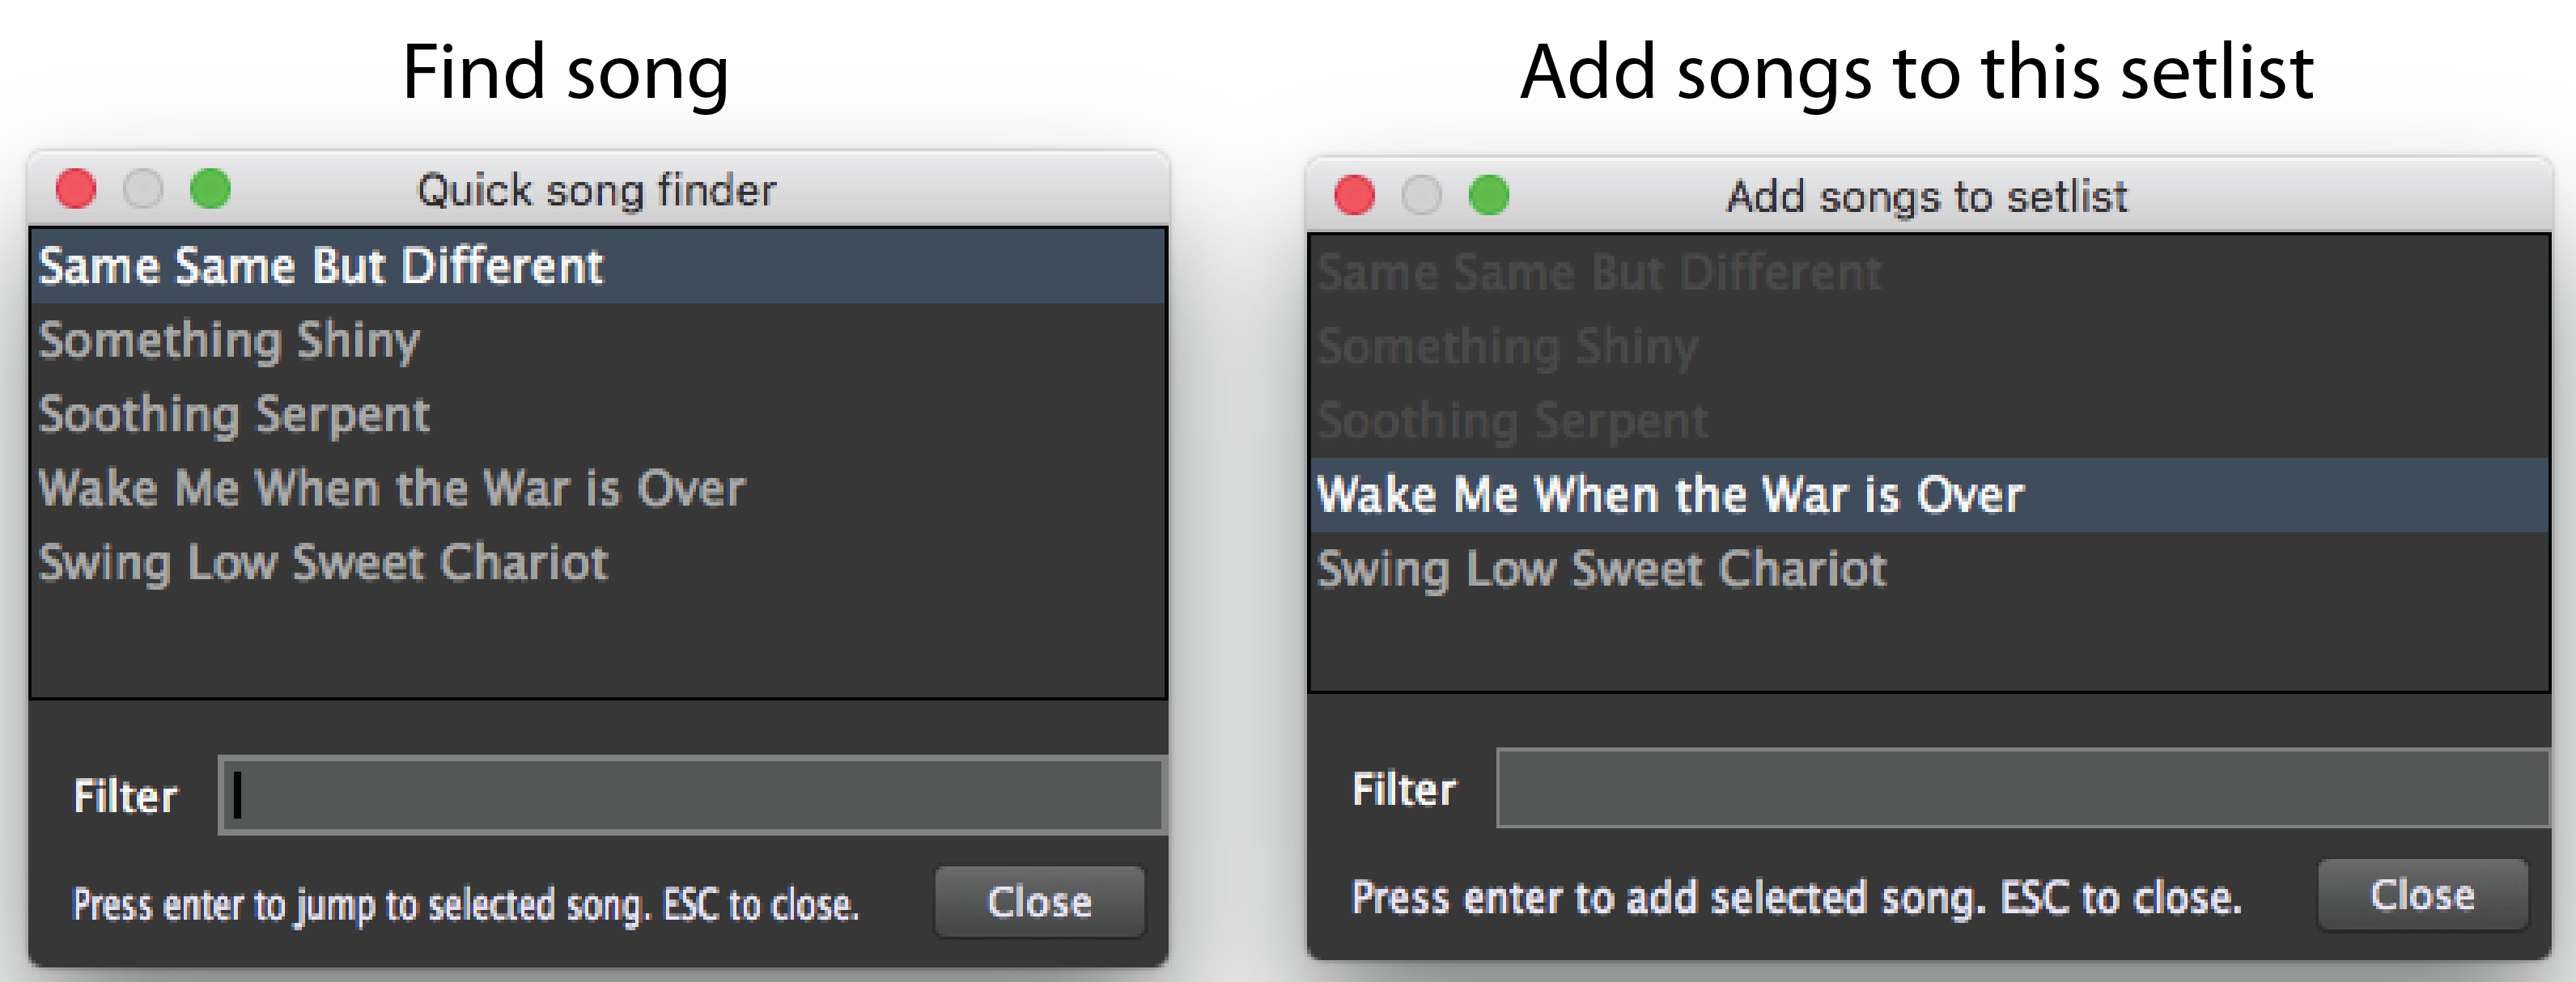
Choose this command to open the Quick song finder window displaying all of the songs currently in the setlist. To add a song from the list in the window to the current setlist, select the song you want to add and press the Enter key. Press the Escape key or click the Close button when you have added all the songs you want in this setlist. (Cmd-F/Ctrl-F on Win)
This command also opens the Quick song finder, but lists all available songs, graying out the names of all songs in the list that are already in the current setlist. (Cmd-Shift-F/Ctrl-Shift-F on Win).
Filter field – Find a song by entering search terms in this field to filter the view.
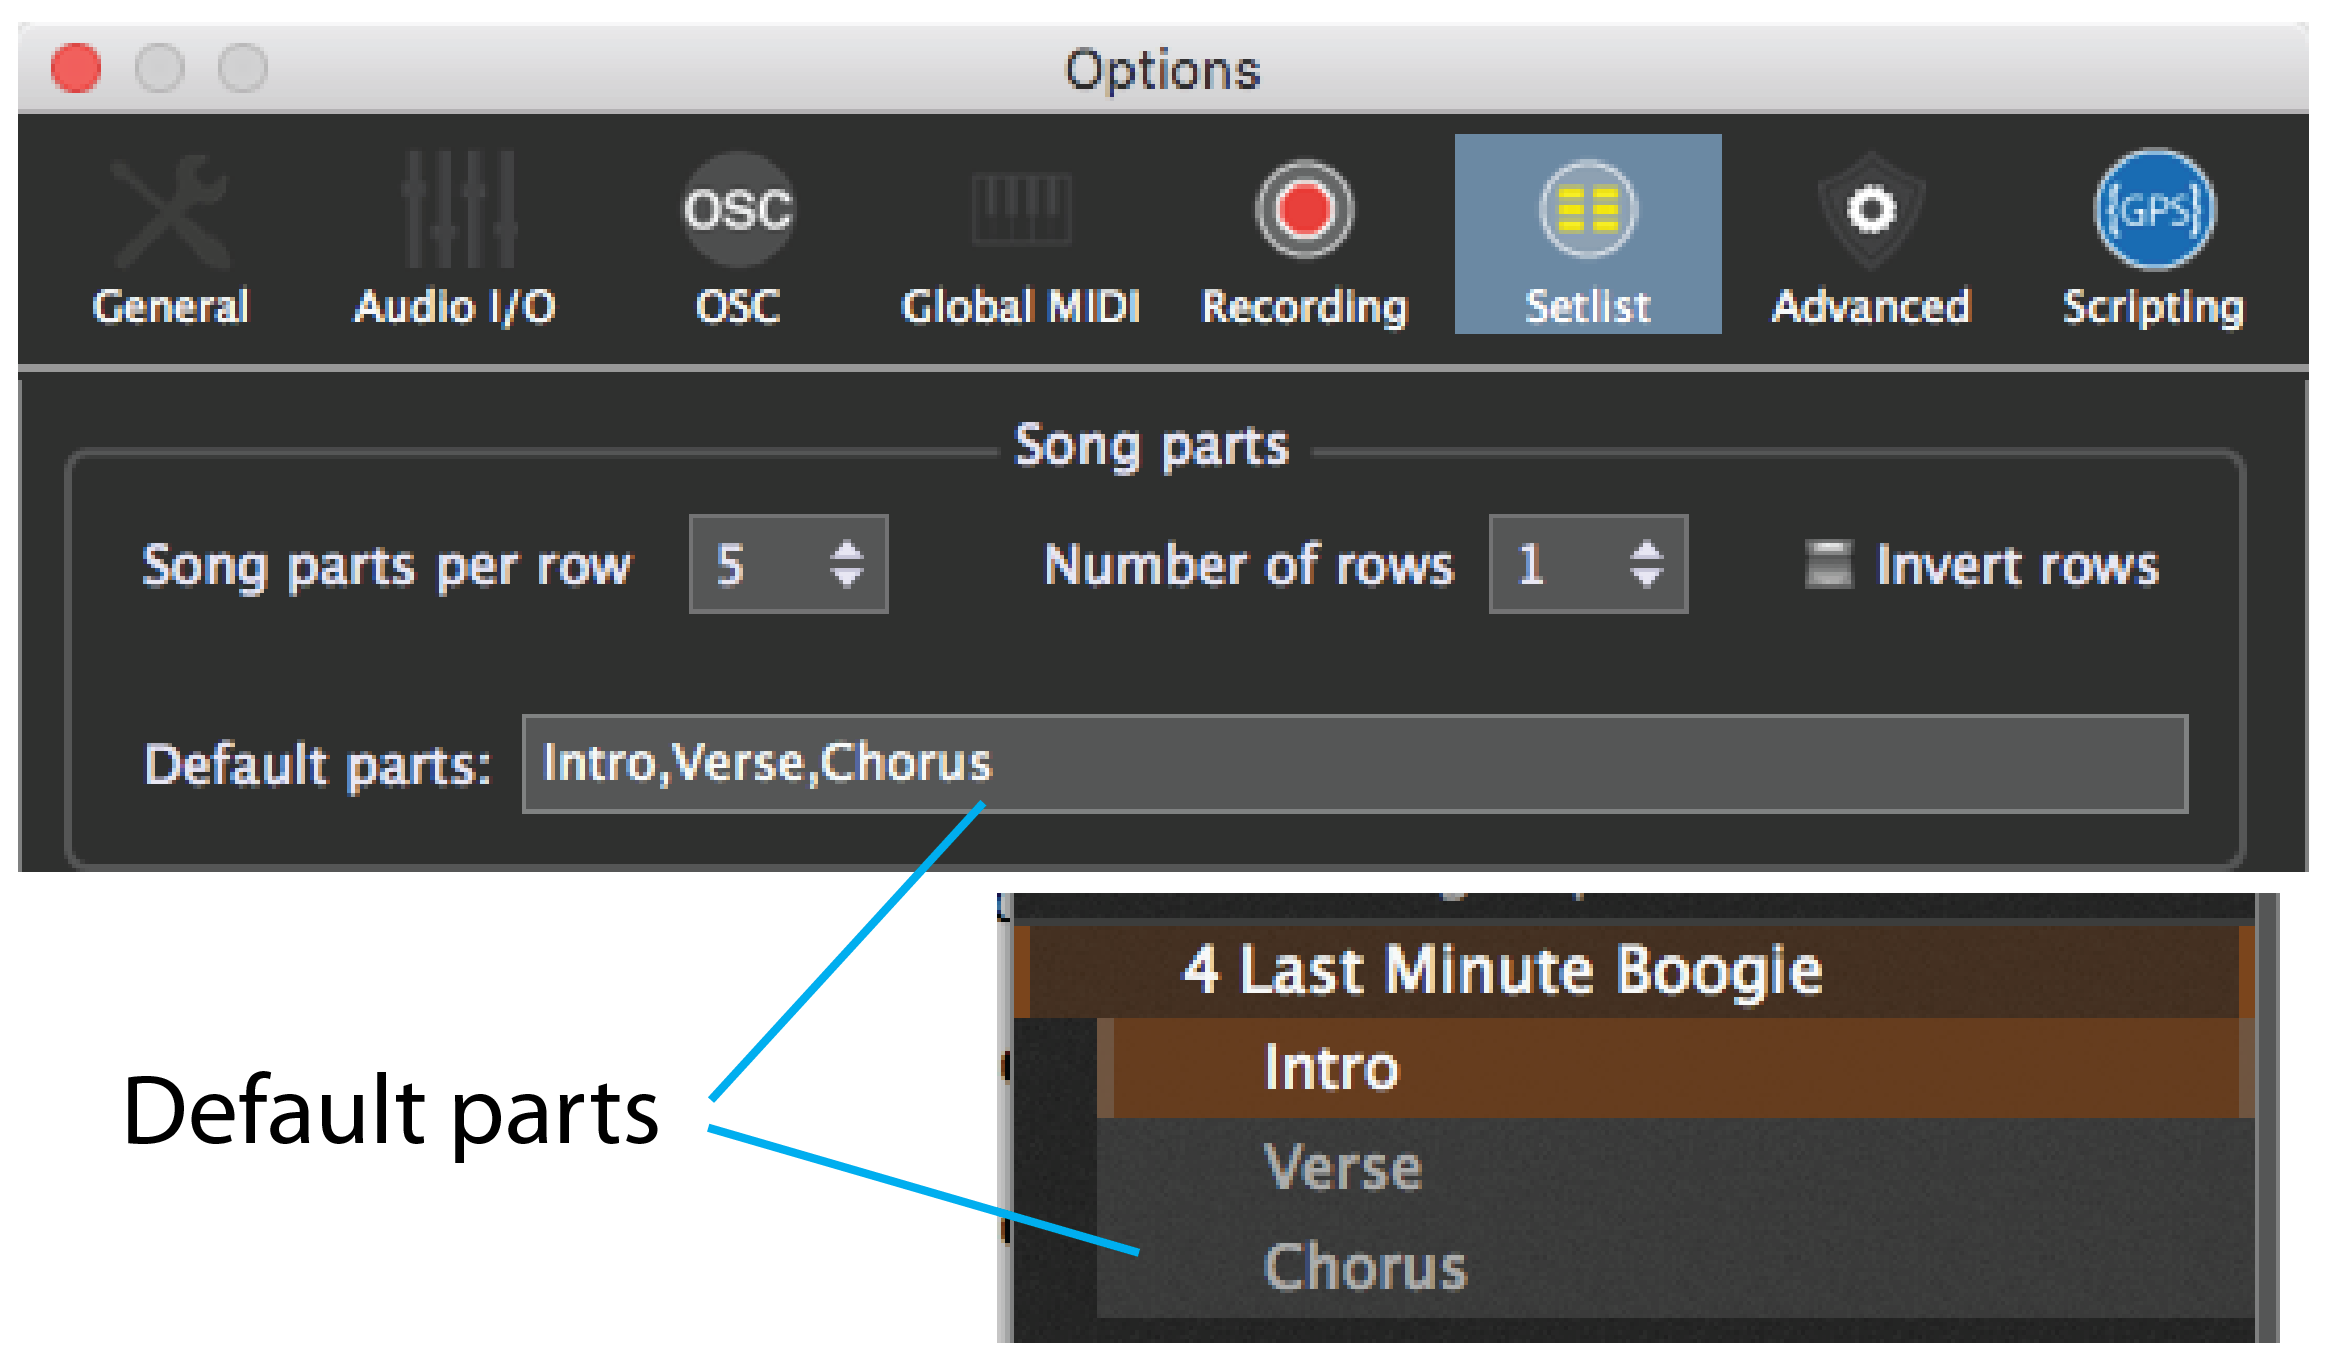
– Opens a song name dialog and creates a new song, containing some default parts, in the current setlist. The new song is also added to the All Songs list.
The default parts created for a new song can be set in the Setlist/Song Settings tab of the Options dialog.
– Removes the selected song from the current setlist.
– Removes the selected song from all setlists and the gig document entirely.
– Choosing this command blocks changes to rackspace assignments in songs. This protects the songs from accidental modification. Clicking on a rackspace in the browser when the song is locked produces an error message.
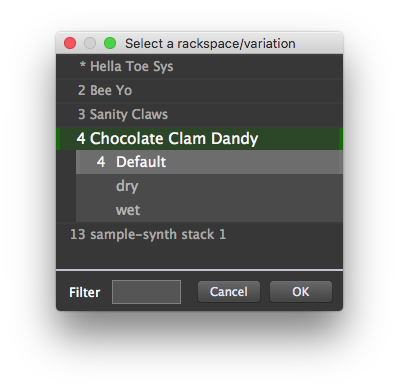
– This command opens the Quick Rackspace/Variation Finder window, allowing you to immediately switch to any rackspace and variation.
– This command is another way to add a song to a setlist. Select the song in the browser, then choose this command, picking a target setlist from the drop-down menu.

Opens a part name dialog and creates a new song part in the song currently selected in the browser.
Removes the currently selected song part in the setlist editor. The part is removed from all occurrences of the song in all setlists.
This command overwrites a stored variation with any changes made to widgets and then stored to a song part using the Capture Variation Edits button. After changes have been written back to the original variation, the red indicator next to the button goes out, and the Compare and Revert buttons disappear.
TIP: If you edit values on the fly and like the changes, this is how you save those changes. If you want to keep the original variation as well, make a duplicate of it before clicking the Capture Variation Edits button.
This command enables replacing a rackspace variation, everywhere it occurs, with a different variation. This makes it fast and easy to change all of your piano sounds in one gesture when you get a new, more glorious piano instrument or sound.
1.Select the rackspace you want to replace, either by clicking on it in the rackspace browser or by clicking on a song part that uses it.
2.Choose the Bulk reset to new rackspace variation command. The Rackspace Quick Finder will open.
3.Choose the rackspace you want to use as a replacement and click the OK button.
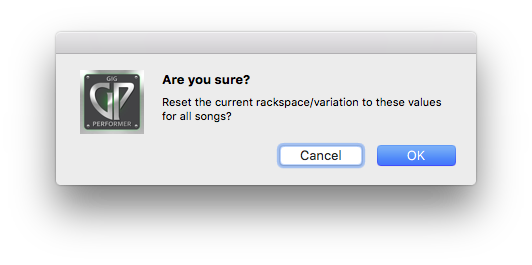
4.After accepting the change in the confirmation dialog, all instances of the old variation will be replaced with the new variation.
