Thank you for your interest in Gig Performer Essentials.
Please enter your name and email address in the field below. Links for both Windows and macOS downloads will be sent to you.
By providing your email address, you will be subscribed to our newsletter from which you will be able to unsubscribe at any time. Make sure you use a valid e-mail address and if you don't receive our e-mail, please check your spam folder.
How to play “Won’t Get Fooled Again” with Gig Performer
In this article we explain how to play “Won’t Get Fooled Again” with Gig Performer. There’s a video of the complete process at the end of this article. .
Background
.
There are many YouTube videos of people showing how to play this great song. They are busy playing 8th note chords something like this:
then stop immediately and read on to see how you should really suppose to play it.
So to cut a long story short, you basically play it like this:
Yeah, that’s right! Your left hand is mostly playing whole notes. In fact, if the note doesn’t change, you end up holding the note down over many bars, like that very bottom A, for example. NB: My notation skills are not great, all those A notes should show tied together. .
Wiring view in Gig Performer
.
So what’s going on? In a nutshell, Pete Townsend did it by feeding the audio output of a Lowry organ into a synth. Afterward, he programmed the synth (originally an EMS VCS3 and later an ARP 2500) to turn the audio on and off very quickly along with sweeping the filter cutoff frequency.
For the demo with Gig Performer, I’m going to use the new Blue3 Hammond plugin along with Arturia’s ARP-2600 plugin. Note: the left-most port of the 2600 accepts incoming audio and you must also adjust the preamplifier gain (top left of the ARP 2600) so that there’s enough signal.
Below is a picture of the Wiring view in Gig Performer:
At the top we have a MIDI input block which is connected to the Blue3 Hammond plugin. The audio output of that Hammond plugin is connected directly into audio inputs of the ARP plugin. The audio output of the ARP plugin go into a Gain control, which itself is connected to the audio interface. .
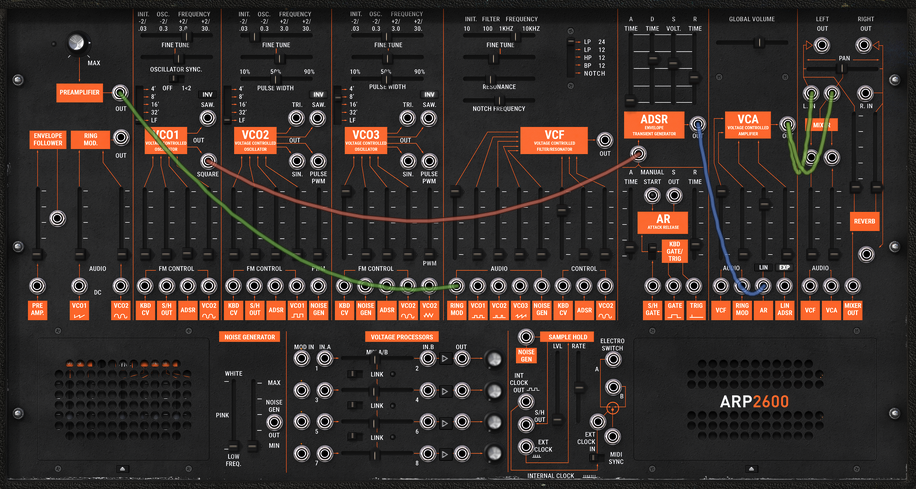
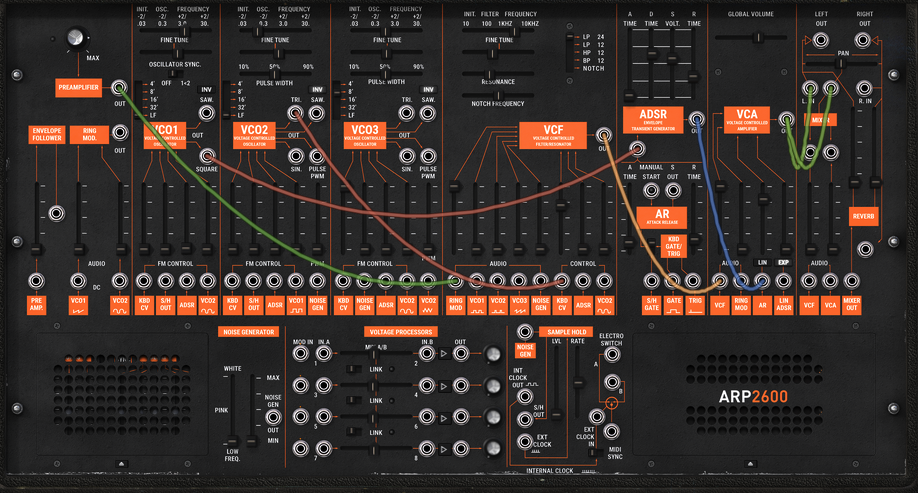
How to configure Arturia’s ARP-2600 plugin
.
Let’s quickly look at how to configure the ARP.
Step 1: The audio input appears at the OUT jack of the preamplifier is directly connected to an audio input of the VCF via a green cable (overriding the default audio input which is a ring modulator). The audio output of the VCF is connected directly to the ARP audio outputs (brown cables) and since the cutoff frequency of the VCF is quite high, the input sound (in our case a Hammond organ) will pass though with minimal change.
Step 2: Instead of the VCF output going directly to the audio output, we need it to go into the VCA so that we can gate the sound volume on and off repeatedly. If you do not make an explicit connection from the VCF output, the default is that it shows up as the first audio input to the VCA. However, we want to control the VCA with the ADSR rather than with the default AR so we connect the control output of the ADSR into a control input of the VCA (the blue cable). We are also using the square wave output of VCO1, running at a very slow frequency, to trigger the ADSR (the brown cable). We connect the output of the VCA directly to the audio outputs. Note that we could have also just used the default VCA output here.
Step 3: Finally, we use a slowly changing triangle waveform produced by VCO2 to control the cutoff frequency of the VCF (the dark brown cable). .
Video demonstration
.
Here’s a complete video showing the creation of this effect.
I regret that explanations of basic topics such as VCOs, VCFs, VCAs, gates and ADSRs that form the basic elements of a subtractive synth such as this ARP are beyond the scope of this article. The goal was to show the technique/approach that was used given the technology of the day. Obviously you can choose a different organ plugin (or feed a real Lowry organ into GP) and a different synth plugin to do the gating and then tweak to your own satisfaction. You can find many tutorials on these topics via online search.
We use cookies to ensure that we give you the best experience on our website. If you continue to use this site we will assume that you are happy with it.