In this article, we will show you how to hide unwanted plugins.
How to disable a plugin
If you have a plugin that you never use (and who doesn’t!), then you can disable it in the Plugin Manager. Simply select the plugin and click the Enabled switch to disable it.

When a plugin is disabled, it will no longer show up in any plugin menus.
Quick Plugin Finder
If you have a large number of plugins and you have them in multiple formats (VST, VST3 or AU) you may want to reduce the number of available plugins to make it easier to find what you want. One way to do this is to use the Quick Plugin Finder dialog filter to restrict the view temporarily. For example, below we only want to see phaser plugins in Audio Unit format.
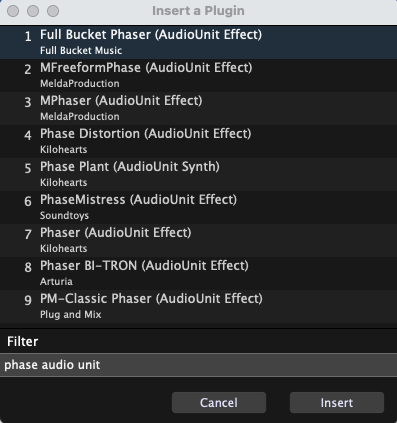
However, if you only want to work with a particular format (by the way, this is not necessarily a good idea as unfortunately some plugins work better in some formats than others) you can restrict the view on a more permanent basis using the Plugin Manager.
Restricting the view on a more permanent basis
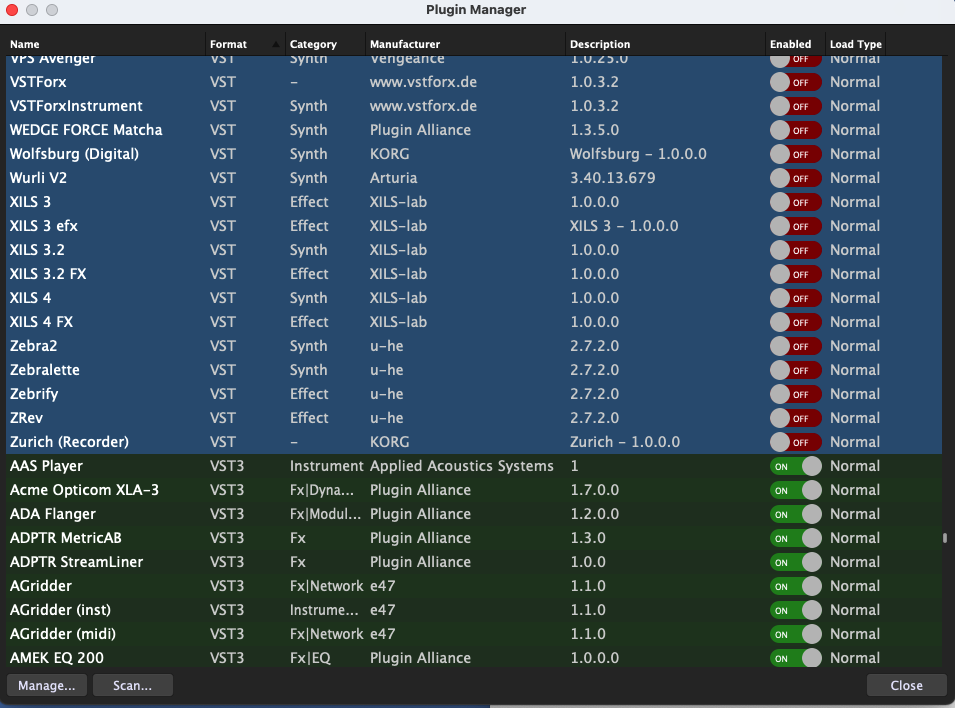
Take a look at the following view of the Plugin Manager showing a small number of the plugins available on one particular computer.
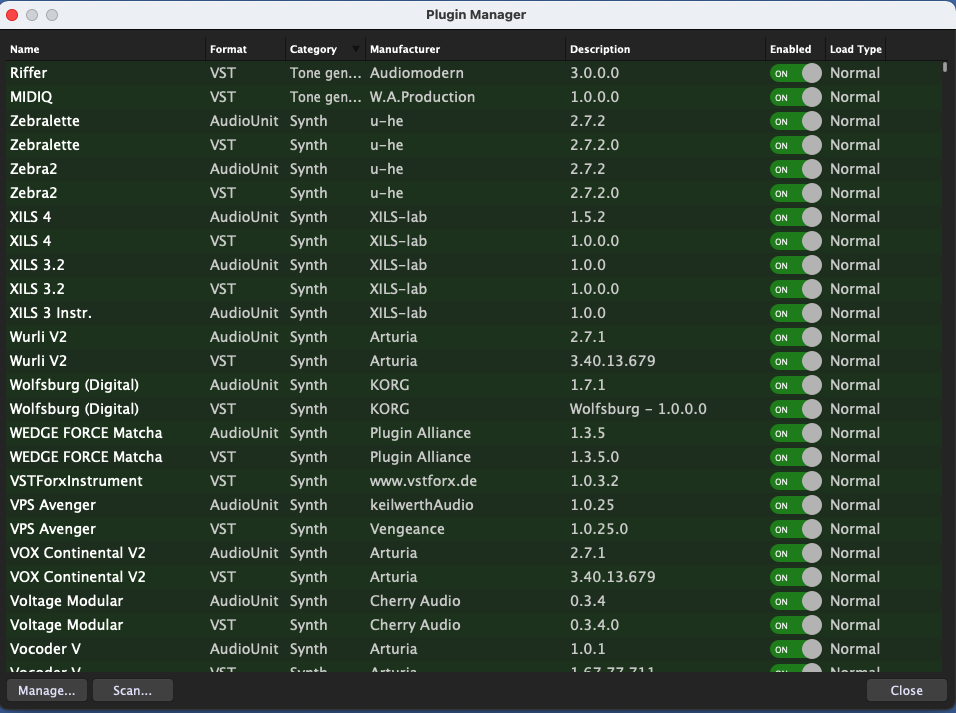
There are two things to notice here.
1) You can click on any column header to sort the plugins by that column. For example, clicking on Manufacturer will sort the list by the Manufacturer
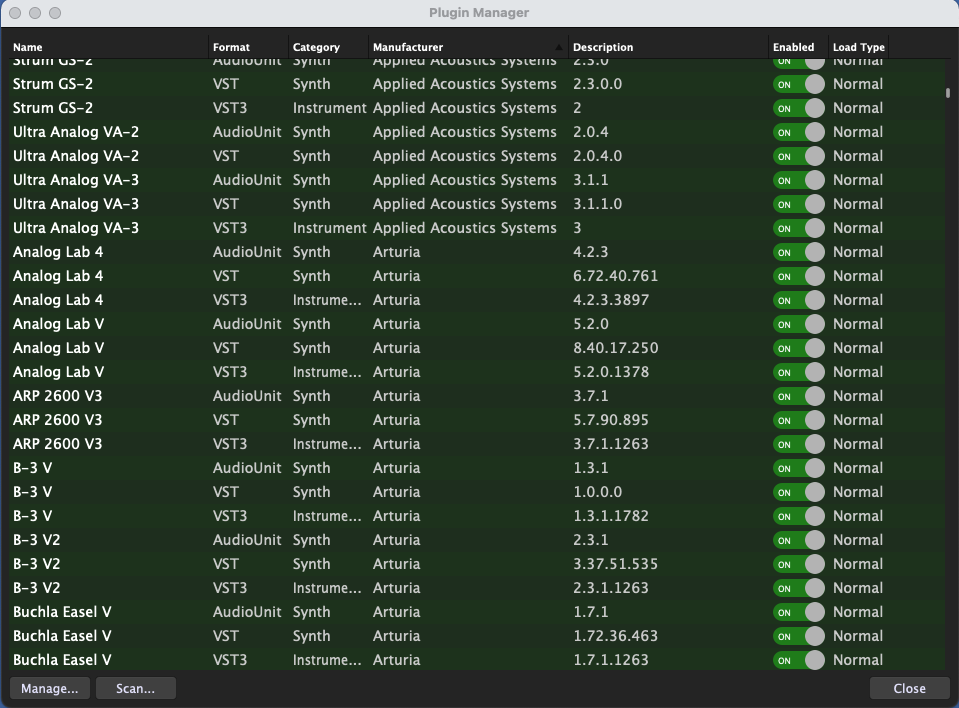
2) There’s a column called “Enabled” that can be used to totally hide plugins (by disabling them).
So for example, if you prefer to only use VST3 plugins, do the following:
a) Sort the list by Format and select the ones you don’t want (select the first one, scroll down, hold the Shift key and select the last one)
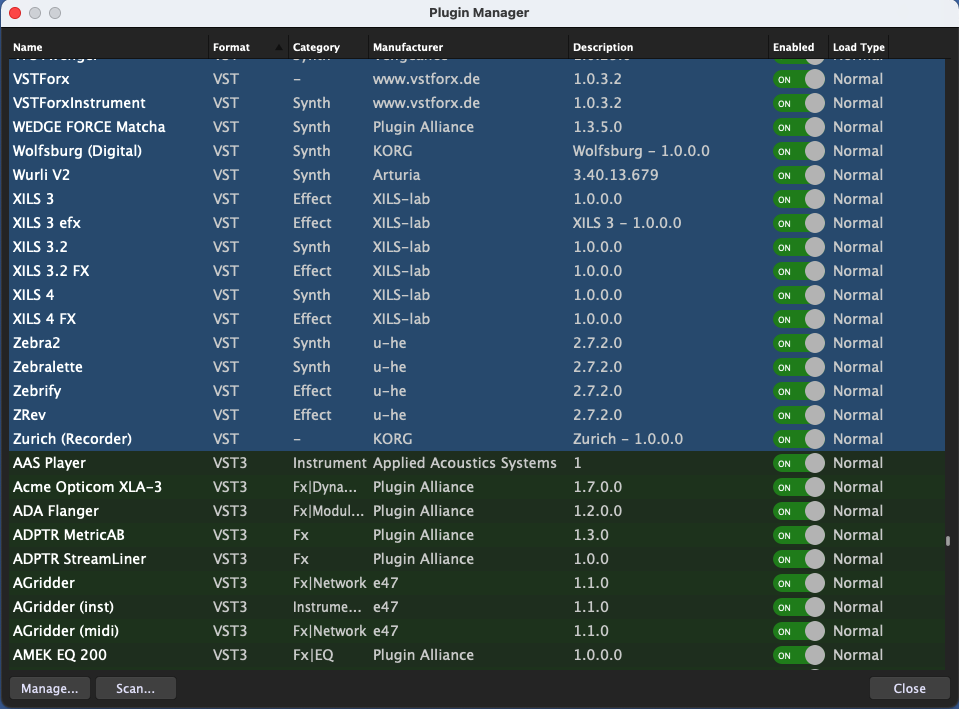
b) Right click on the selection and select “Disable” from the popup menu
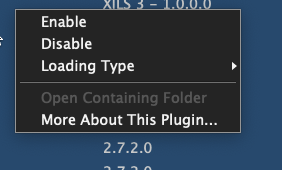
Now, all the plugins you selected will be disabled and will no longer show up in the popup menus nor in the Quick Insert Dialog
.
Related topics:
– Important workflow tools and tips (User Manual)
– Tips and Tricks (Community)
– Learn many tips with the Shift key (Blog)


