At some point, you may be interested in recording your Gig Performer performance with a DAW.
.
Background
.
Gig Performer is designed to be a very flexible audio plugin host to allow you not only to create your sounds but also to perform, in real time, on stage or in a studio. We’re not talking about playing 8 bars with one sound, stopping to switch sounds, and playing another 8 bars and so on. We’re talking about the ability to perform an entire song, with instant access to all the different sounds you need to play it without stopping.
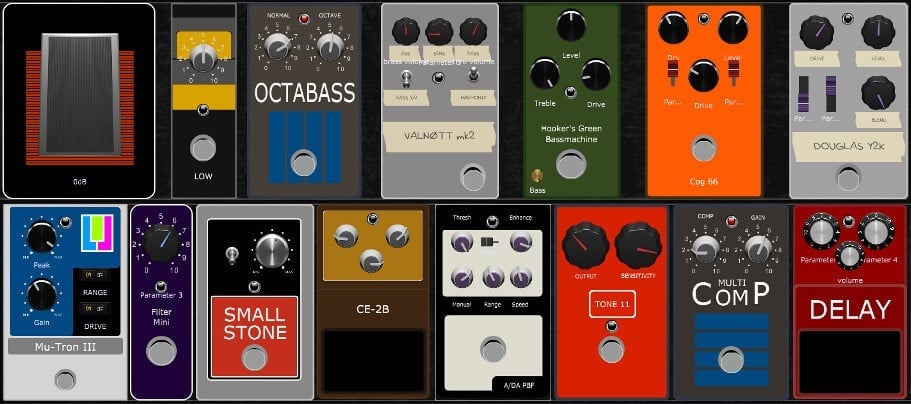
If you’re a guitarist, you would typically do this using a collection of effects pedals that you could turn on or off on the fly. Visit our Gig and Rackspace Files category to see many examples.
A typical track-based DAW is not designed to do this kind of thing. The typical approach is to just record a “clean” guitar and insert all the effects afterwards. But let’s face it — it’s very hard to play with feeling if the sound you’re producing is a basic clean electric guitar when you really should be hearing amazing distorted power chords, or chorus/flanging along with echo as you perform.
Even if you’re doing it for fun, you’re not feeling the “experience”, the energy, the excitement.
.
Our vision
.
Therefore, our vision is to treat Gig Performer as a very sophisticated replacement for all those pedals and (perhaps) amplifiers that you carry around that will allow you to design all the different sounds you need and then give you the ability to play complete songs, accessing all those different sounds instantly, even in the middle of a bar, without any glitching. With this philosophy, Gig Performer is your core tool to create and play the sounds you want and your DAW takes its rightful place as your recording/mixing/production system.
Update: As of Gig Performer 4.5, you can record inputs and outputs in mono or stereo with Gig Performer’s Recorder (watch this video to learn more).
So what do you do if you want to record your performance into a DAW (for example)? Turns out there are quite a few ways to do this, depending on your needs and your platform.
.
Recording your performance with a DAW
.
.
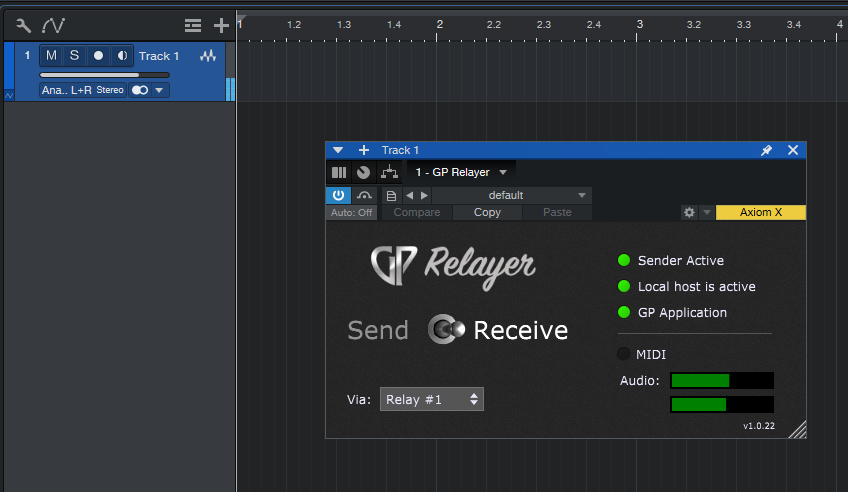
GP Relayer
.
GP Relayer, is an exciting new plugin introduced in Gig Performer 5. It provides the easiest way to share audio and MIDI between Gig Performer and your favorite DAW. Simply place one or more of these plugins in your DAW one or more in Gig Performer, and you’re ready to seamlessly move audio and MIDI data back and forth.
You can directly record high-quality, low-latency audio from Gig Performer. Additionally, you can use your DAW’s proprietary plugins and MIDI effects within Gig Performer.
Read this dedicated blog article to learn more and check out our tutorials for various DAWs.
If you happen to use an older version of Gig Performer, you can try the method mentioned below.
.
Virtual Audio Drivers
.
If you’re on a Mac, one great approach is to use the Blackhole virtual audio driver (free) with no additional latency, to route audio directly from Gig Performer to your DAW. Incidentally, you can do this bidirectionally if you want to use Gig Performer for audio effects processing where you send audio from your DAW into Gig Performer and then Gig Performer sends the processed audio back to your DAW.
If you are on Windows, then you can use Virtual Audio Cable (donation-ware) to do exactly the same thing. One caveat on Windows – if you want to use the same physical interface in both Gig Performer and your DAW, make sure your audio interface drivers allow more than one application to use it simultaneously (see more information in this article).
NB: please note that we cannot provide individual support to users on this topic. The information here is solely for guidance to show how it can be done. We encourage you to visit our support forums to ask specific questions.
For example, there is already an interesting discussion on our community forum on other ways to do this, including the use of patch cables (audio and optical).
By the way, if you are using MIDI to play instruments, you can easily use virtual MIDI ports (built-in on the Mac via IAC and freely available for Windows, e.g. LoopBe1) to drive Gig Performer from your MIDI tracks in your DAW.
.
An example for the macOS
Here is an example how to route and record audio using virtual cables for the Mac.
Let’s observe the Wiring view on the screenshot below.

Here is Gig Performer with the guitar input coming through a Scarlett audio interface. The processed output is going into the first two channels of Blackhole virtual driver.
On the screenshot below is Logic Pro X. In the audio preferences, the input device is our virtual driver, BlackHole (red arrow) and the output device is our Scarlett audio interface (green arrow)

Here is the main view of Logic Pro X. Remember that we sent audio from Gig Performer into the first two channels of the BlackHole virtual driver. So here (red arrow) we will record from the firs two channels of the BlackHole virtual driver.
We also turn on input monitoring (green arrow). This way you can hear what you are playing in Gig Performer before you start recording.
Hit record and off you go! Take advantage of Gig Performer’s ability to instantly switch sounds to record what you’re actually playing at different times.

.
Related topics:
– Recording Gig Performer in Reaper via the ReaRoute feature (Community)
– Recording your guitar or vocals
– How to record Gig Performer outputs via its record feature on Windows
