Gig Performer’s Recorder provides a simple way to capture every audio input and output channel to its own wave file. You can then easily post-process these file in a DAW.
The feature is particularly useful for FoH engineers who are using Gig Performer to add live effects processing to a show. Yes, that’s right, Gig Performer isn’t just for keyboard players or guitarists!.
Important note: Gig Performer v4.5 and later can record both inputs and/or outputs in mono and/or stereo. Please check out this YouTube video for detailed guidelines.
Gig Performer can also record all incoming MIDI data and creates a standard MIDI format 1 file where each track represents each physical MIDI input device on your computer.
The Recorder in Gig Performer 3
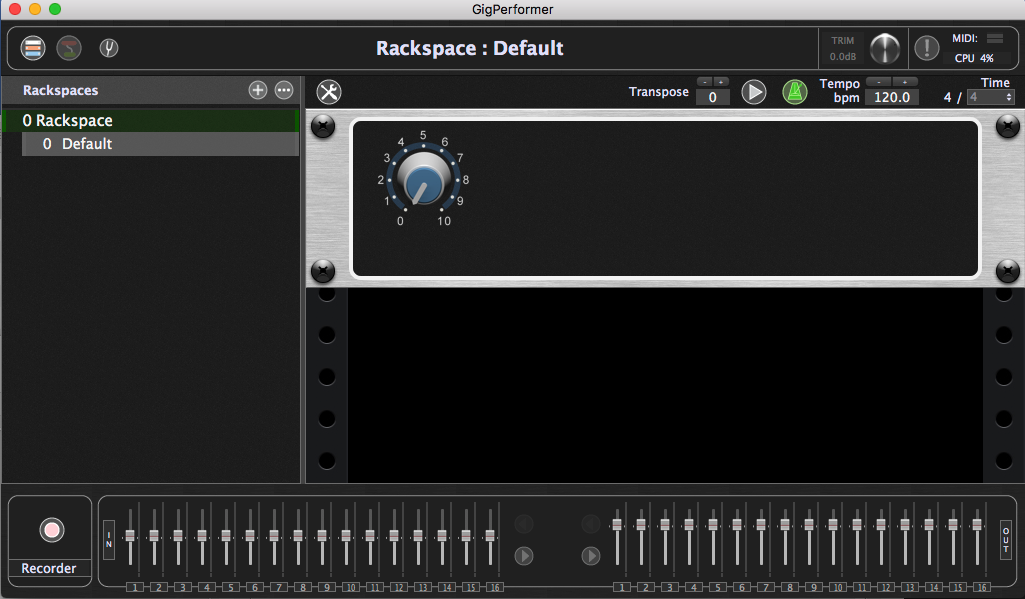
Note the Recorder button, sitting innocuously on the bottom left of the main window.
If you click the button, you will see the following dialog:

From this dialog you can choose which audio inputs are to be recorded. You also have the option of specifying the bit depth and whether you want to start recording immediately or specify a time in the future. The latter is useful if you’re doing your sound check at 5pm and the band will start playing around 8pm. Set it now and then you don’t have to remember to up on stage later to start recording.
Recording MIDI
You can optionally check the Record MIDI Input box and all incoming MIDI data will be stored to a standard MIDI file (.smf) where each track represents a physical MIDI input device on your system. The current tempo is also tracked and recorded so you get a tempo map as well.
The actual tracks are stored in a subfolder whose name is a combination of your gig file name and the time at which the recordings actually start. That means you don’t have to worry about overwriting files. Just run the recorder at every show during your tour and at the end you’ll have collections of tracks that you can throw into your favorite DAW for post production.
Another benefit: you can give tracks to potential substitute band members. By hearing the waw input, they can easily hear what the original musician did. This of course will make it easier for musicians to get up to speed quickly.
.
Related topics:
– How to use recorder?
