In this article, you will learn how to specify plugin locations in Gig Performer.
Background
If you are running Gig Performer on a Windows computer, your VST3 and VST plugins can be installed in arbitrary locations specified by the plugin developer and/or modified by you. In either case, if some of your plugins do not show up in Gig Performer, you will need to tell Gig Performer where it should look to find your plugins.
Please also be aware that Gig Performer only supports 64-bit VST and VST3 plugins.
Plugin Manager
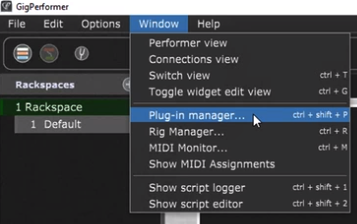
Click on Window -> Plugin manager… to open the Plugin manager:
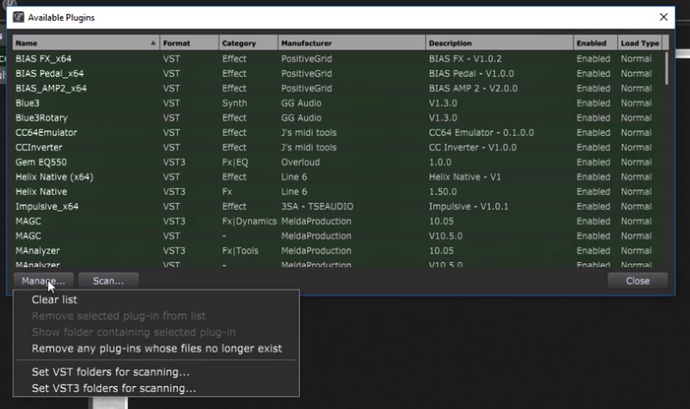
When the Plugin Manager opens, it will display a list of all plugins that were found. If a plugin is displayed in green, it has been validated. If a plugin is displayed in red, it has not been validated and is consequently unavailable.
Note: all 32-bit plugins will show up in red as they cannot be used (check this article to learn more).
Set VST folders for scaning
Click on the Manage… button at the bottom left of the Plugin Manager window. Then select the Set VST folders for scanning menu item.
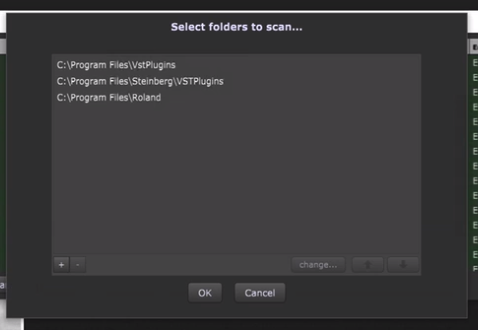
You will see a dialog containing the folders that Gig Performer already knows to check. Press the + to specify another folder. You can do this as many times as necessary.
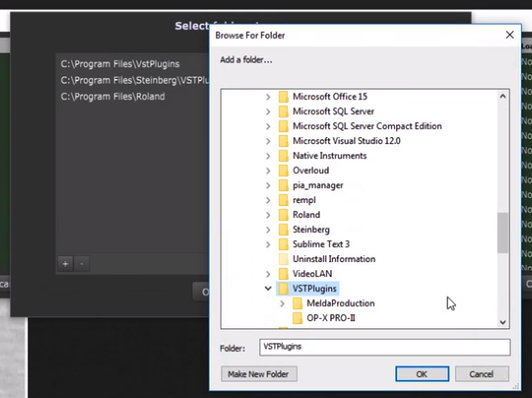
Navigate to and then select the folder where your plugins are located and press OK
Click the Scan… button and select Scan for new or updated plugins or Rescan all plugins
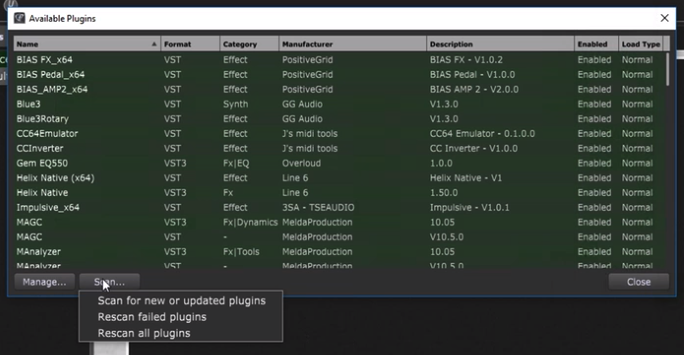
Gig Performer will look for your plugins in the new locations and when complete your plugins should now be available.
Similarly, add VST3 plugin folders by selecting the Set VST3 folders for scanning… menu item and repeat the above-mentioned steps.
.
Related topics:
– Gig Performer didn’t find my plugin
– How to troubleshoot and identify plugins that crash
– Top websites for free audio plugins and how to use them in Gig Performer
– Troubleshooting (User Manual) and Tips to troubleshoot your setup (Blog)
