In this article, you will learn about panels and widgets and useful tips for designing your panels.
Before we start, if necessary, please check out user manual topics to become familiar with Panels, Widgets and other basic terms in Gig Performer.
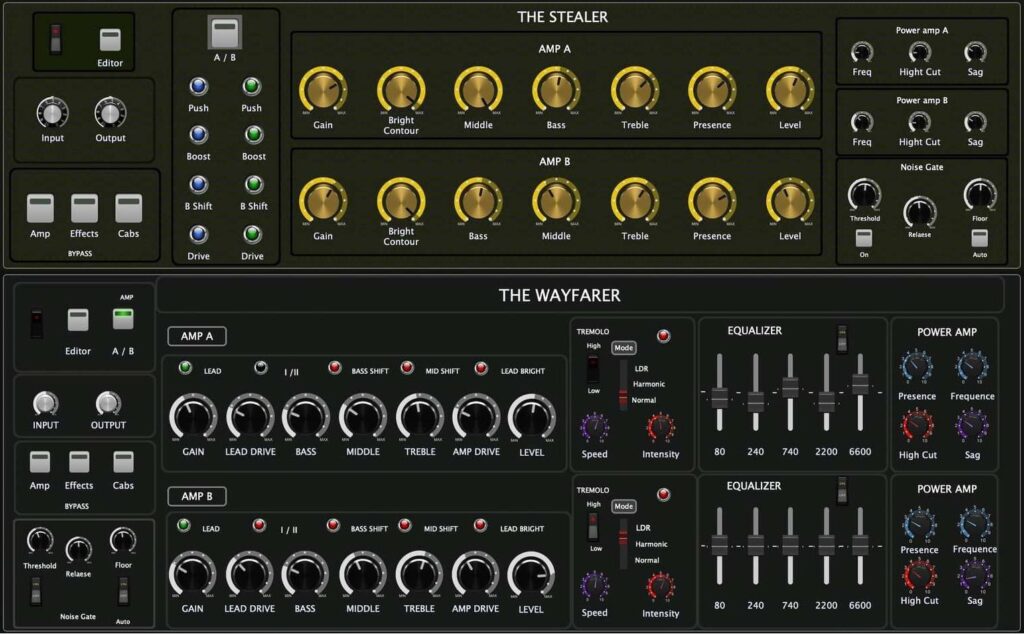
Some musicians don’t make changes to their sounds (or make only minor tweaks). Therefore, they may only need on or two widgets on their panels. An example is this Simon Leiner’s setup.
On the other hand, you can create very nice panels with a lot of real-time control. An example is shown by Erik Schütz in this video.
Gig Performer has the flexibility to arrange things to suit your approach and thinking process. This makes your setup productive and efficient. (here is an example of how Joe Luca is designing his panels).
Working with panels
.
A great starting point to pick some ideas to design your panels are:
- Bundled templates,
- Bundled panels,
- the Gig and Rackspace files forum.
.
Gig Performer comes with bundled templates – click this user manual page to learn more.
Note that Gig Performer also comes with bundled panels, as well. While in Edit mode, click on New panel drop-down menu, select Load panel (click here to learn more) and then select on one of the supplied panels, e.g. “Parametric EQ”:

Visit this Backstage with Gig Performer episode to see detailed explanations what can you do with built-in templates and panels.
Finally, the Gig and Rackspace files forum is a great place where our community members share their amazing work. You can download and use these gig or rackspace files or alternatively open them, save panels you like, and then load those panels in your own gig file and map the widgets to your own plugin parameters.
Panel Size
Suppose you’re starting with an empty gig. The first thing to decide is the panel size. The default is 2U, but you can select 1U, 3U or 4U panel (“U” is an abbreviation for rack unit – a unit of measure defined as 1 ³⁄₄ inches (or 44.45 mm)). While in Edit mode, simply right click on a panel and select its size.
Afterward, click on a panel and then choose a color or texture for it:
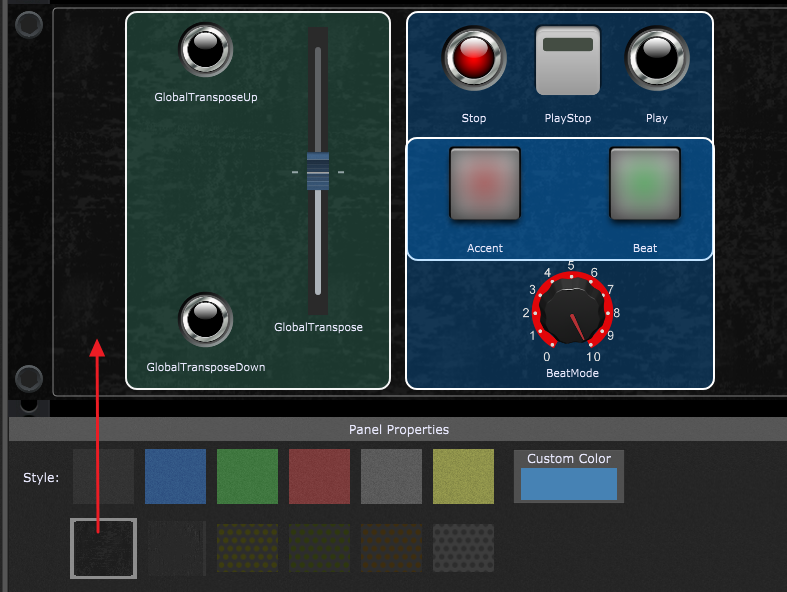
In this example, the selected texture (see the red arrow) can be modified using Shape widgets to look (say) green or blue. This will be discussed below.
Now you’re all set. In the next section we’ll present possibilities to add and arrange widgets.
Working with widgets
.
Similarly to operating with panels, we add, position and edit widgets in the Edit mode of the Panels view. Make sure to review our user manual to make yourself familiar with:
– How to add widgets to a panel
– Widget alignment and distribution
– Z-ordering
– Widget Properties inspector
The Shape widget
When it comes to designing panels, the Shape widget is probably the most valuable for decorating the panel. Guitarists can arrange their widgets to resemble their pedals, as shown in the screenshot below (to the left):
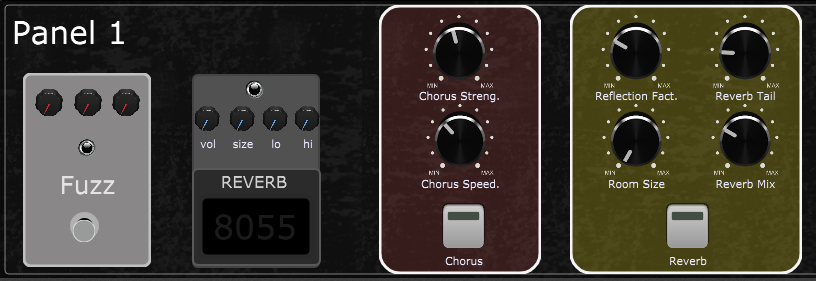
Generally, the Shape widget is used to easily organize related widgets into logical sections and with different colors (see the screenshot above, to the right).
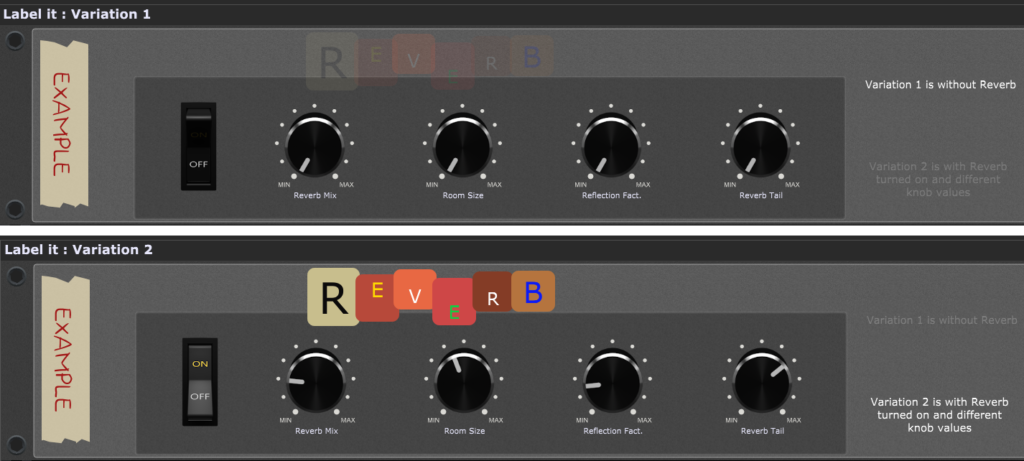
You vary the transparency of the Shape widget by changing its widget value. The Shape widget provides you with great flexibility as you can group it with other widgets or map it to a plugin parameter. In the example below, I took advantage of the transparency feature of a shape widget:
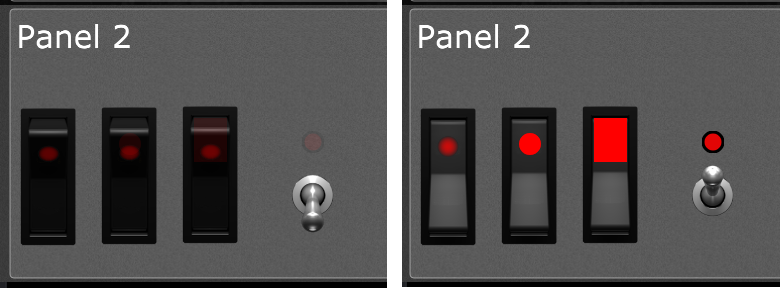
The screenshot on the left shows how widgets look when they are turned off (widget value = 0) and the screenshot on the right shows how the same widgets look when they are all turned on (widget value = 100). The first red vertical switch is an unaltered Gig Performer widget. On other two switch widgets I wanted to make the light stronger or rectangular respectively so I grouped it with the corresponding shape widgets.
You can use the Shape widget as a custom LED with the color you want. Note the Shape widget above the Toggle Switch widget. NB: At the end of this article I will post a gig file that contains these examples, so you can easily experiment yourself.
Cosmetic improvements for the Label widgets
In Gig Performer 4.5 there are cosmetic improvements for the Label widgets; you can now select font size, text position (nine positions) and text color:
Similar to the Shape widget, you vary the transparency of a Label widget by changing its widget value. You can use this behavior (say) in rackspace variations to highlight or hide certain messages.
Drag single widgets
Another new feature in Gig Performer 4.5 is the ability to drag single widgets across panels in a rackspace. Unlike the standard copy-paste mechanism where widgets will be resized when pasted onto a panel that has a different size than the source panel, widgets moved this way will retain their size.
How to hide a widget
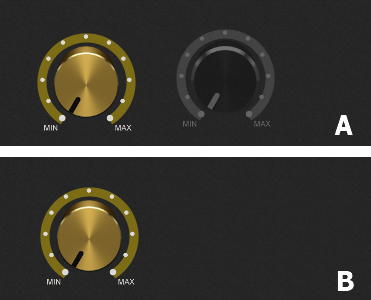
Gig Performer 4.5 also introduces the ability to hide a widget. Simply turn on the Hide toggle button in the General tab of the Widget Properties inspector for (say) the Black Metal widget and it will be semi-transparent in Edit mode (A) and completely hidden when you exit Edit mode (B):
Display Range and Show Back Plate
We’ll conclude this section with two options in the Widget Properties Inspector, the General tab: Display Range and Show Back Plate (click here for more information):
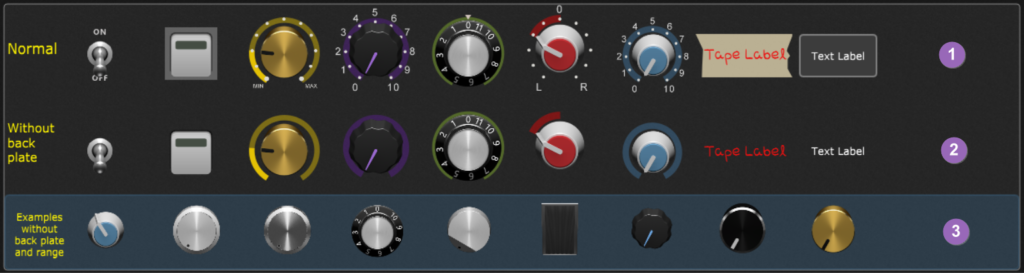
In the “Normal” row (1) are shown some widgets and how they look by default, when you drag them onto the panel. You can easily compare those widgets after removing the back plate (2). With (3) are displayed some widgets without both their back plate and their range. Note: there are widgets for which the range and/or back plate cannot be altered.
Other tips with panels and widgets
.
Third-party fonts
Starting with Gig Performer v4.7, you can implement third-party fonts in your setup. An example is this layout:
You download this template here.
The Hammond organ drawbar tip
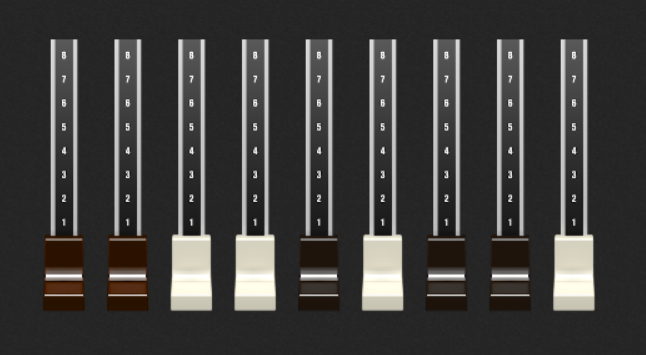
While dragging a widget onto a panel, press a number (between 2 and 9) and that number of widgets will be added to a panel laid out horizontally. Press the desired number twice while dragging to add them vertically (click here to learn more). Also, if you drag exactly 9 drawbar widgets, they will appear with the same colors as on a real Hammond organ:
Moving widgets using computer keyboard
You can move widgets using the arrow keys on your computer keyboard. Hold the Shift key to move widgets in bigger steps.
Replacing widgets
To replace an existing widget with another one, simply drag the other widget over the existing one and when the REPLACE label appears, release the mouse button. Note: this works only with related widgets; for example, you can replace an LED button with a Pad button or a Metal knob with a Black Metal knob.
Show or hide widget group letters
If you use widget groups, you can choose whether you want to show or hide widget group letters in the Panels view; see Display Options for more information (NB: these letters will always be visible in Edit mode).
To quickly assign all the widgets to the (say) widget group “N”, select all the widgets and then press the keyboard key N while holding the Alt key (or Option on Mac).
Copy and Paste operations
Copy and paste operations on widgets and panels are supported between:
– rackspaces,
– the Global rackspace and other rackspaces,
– multiple instances of Gig Performer. This means that you can open another instance, load a gig file (say) from the Gig and Rackspace files forum and copy panels and widgets to your gig file.
You can use widgets to create a metronome with visual feedback. Click here to learn more.
.
Download the gig file: DOWNLOAD
.
Note: in the Bonus rackspace, a knob widget is moved slightly on every beat using a rackspace script. If you like scripting make sure to check out the Related topics section and the Getting started gig file to see animated widgets. If you have any questions or want to share your own tips, please visit this Community thread.
Share this article it to support Gig Performer and spread the word!
Own The Stage® with Gig Performer®
Nemanja Pudar
.
Related topics:
– Getting started gig file
– How to make various elements of Gig Performer bigger
– Larry the “O” explains Gig Performer Widgets
– How to create a custom metronome with visual feedback
